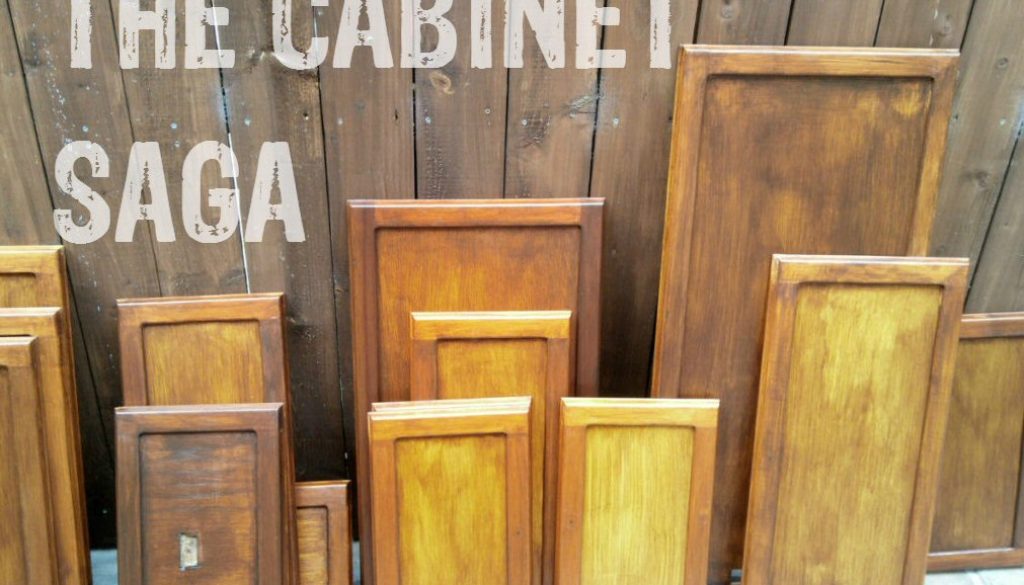
The Cabinet Saga – Renovating The Woodwork
The cabinetry was in good order but was a little dated (circa 1982).
The motorhome had been built by a luxury yacht manufacturer, so had been finished to professional marine standards. All the cabinets and drawers had been hand crafted with dovetail joints, ensuring a very strong construction.
At some point, the wood side panels and cupboard surrounds throughout the van had been covered with embossed wall-paper which was falling off in a few places.

To bring the interior more up-to-date we decided to remove the wallpaper and strip the wood back to its “natural” colour, then re-stain it to our own taste (a darker walnut colour) – a mistake of mega proportions.
Long story short, we stripped and stained, and stripped and stained …. and stripped and stained again. Three different colours – none of which turned out how we wanted.
We began to wonder if maybe it wasn’t the stain – maybe it was US.

We contacted a “professional” painter/decorator to do it for us. I should point out that I’ve used the word “professional” in its loosest possible context, although I didn’t know it at the time.
Michael arrived as I was heading to work so I left him and Alan getting on with it. I came home to a very stressed Alan and a decorator who couldn’t wait to get out of the place.
Turns out Michael had stained every piece of woodwork in sight – yep, the WHOLE van in less than fours hours. I had a look round and convinced myself the first coat always looks crap.
Then I found out that Michael had just slapped the stain on – no sanding, no prep, nothing! Alan then told me that Michael had also taken off ALL the labels indicating where each door and drawer were placed in the van. Wait for it, it gets better – then rolled them up in a ball and stuck them to the windowsill. So now we have 24 doors and 23 drawers with no idea where they fit!
The joy was never ending – the next morning we checked the doors and found that the stain was peeling off in sheets leaving the un-sanded varnished wood underneath.

I mentioned it might not be a good idea for Michael to come back again but struggled to compose a text to him with less than 15 swear words in it, so decided to leave it until the next day.
Alan eventually contacted Michael and advised him to give me a wide berth indicating that payment would not be forthcoming. So it was back to stripping for us.
Maybe we were making this harder than it had to be, so after some deliberation we decided to paint the doors and drawers off white which turned out to be a much easier job entailed a coat of extremely hard to apply shellac based primer followed by four coats of the satin finish paint!. But the finished cupboards look amazing with their new handles and hinges.

By this stage, I had lost all faith in having any wood grain in the van. I was happy to paint all the woodwork, and had started applying the shellac primer to the cupboard carcasses.
Alan then came up with the idea of using vinyl wrap (sticky backed plastic to you and me) to cover the carcasses of the cupboards.
I had visions of something like the Blue Peter Thunderbird Station but to give him his dues he has made an absolutely amazing job of the whole van, and I was glad to see the back of all stripping, staining and painting!

I know it looks like chaos but it is organised chaos and we managed eventually to get the doors and drawers back into the van – it was like a 30 foot jigsaw puzzle getting each door back into its right place and we had a few “moments” but it came together in the end and looks amazing.
We will add more pictures in later posts as everything starts to come together.

